How to Make a Fire Pit Made from a 44 Gallon Drum! | Part 2
Over the past few years, we have come to realise that people only cook in their camp oven when they are out camping. Our goal is to inspire others to cook in the camp oven more often at home; a 44-gallon drum makes a great fire pit for camp oven cooking in your backyard.
Today I show you the steps I used to make the drum. If you missed part 1 click here!
Safety First:
Cast Iron Boys do not condone or encourage cutting or using a drum that has contained flammable liquids, and you do so at your risk. We recommend only using a food grade barrel as cutting a drum that has contained flammable or toxic substances is dangerous and has caused severe injuries and fatalities.
It is crucial to wear appropriate safety gear and to be competent working with power tools; this instructional assumes you some experience working with power tools, welding and painting and is only outlining the steps involved in how to make a fire pit from a 44 Gallon Drum.
Steel Supplies:
I bought my steel for the legs and collar from South Coast Steel at Molendinar (Gold Coast) for $38. The steel I used for the hanging hook I had at home (Rio bar, flat plate, horseshoe).
- Legs: 30×30 box tube – 4 x lengths @ 60 cm long
- Leg Supports: 20×20 box tube
2 x lengths @ 58.5cm
1 x length @ 90cm - Collar: 50×50 angle iron
2 lengths @ 65cm (outside measurement)
2 lengths @ 102cm (outside measurement)
Note: please check your measurements as they may need to be altered as your drum may be a different size.

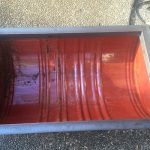
Step 1. Making the collar
The collar was easy to make. I just took the measurements off the drum, cut all the steel and tack welded it together.
Note: I made the collar this way as it creates a place to rest a lid or camp oven on and also hides the sharp edges of the drum for safety.
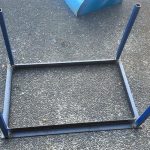
Step 2. Adding the legs
Before I attached the drum, I welded the legs onto the underside of the drum collar, welded the drum into place then added the support bars. You could also screw the drum onto the collar.
Added extras:
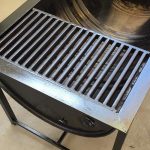
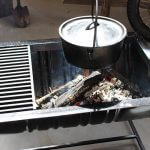
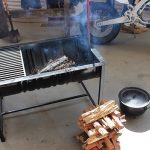
- For the grate, I used a drain grate from an old bus depot that was getting renovated. I did not paint the grate, I seasoned with oil in a hooded BBQ.
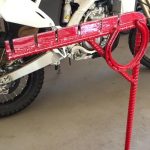
- For the hanging hook, I used some scrap steel that I already had. I’ve included a few photos for your reference.
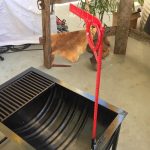
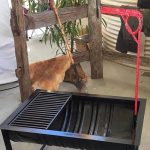
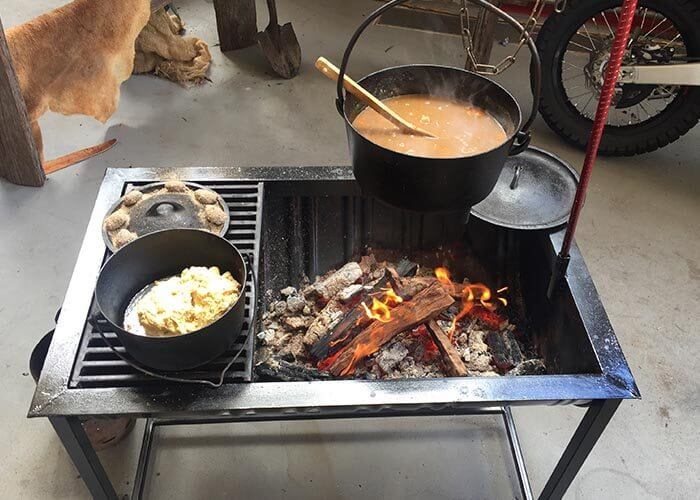
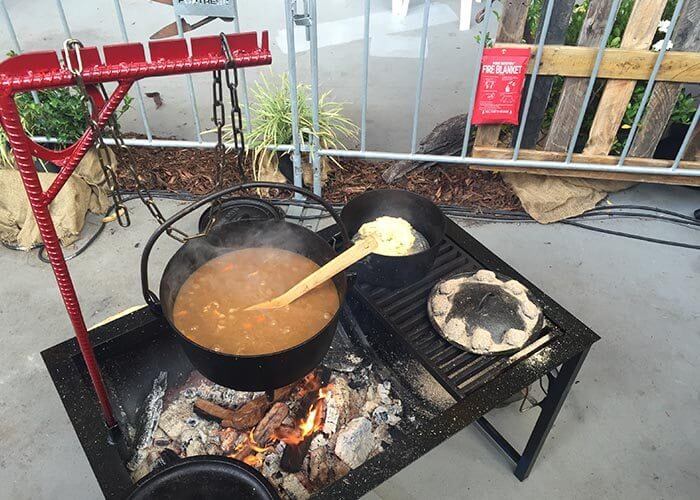
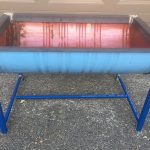
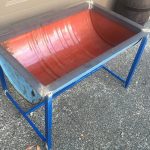
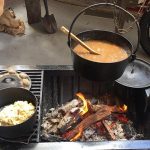
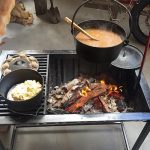
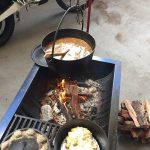
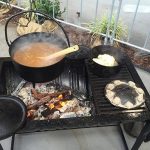
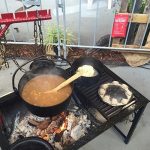
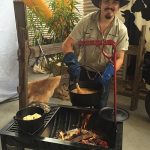
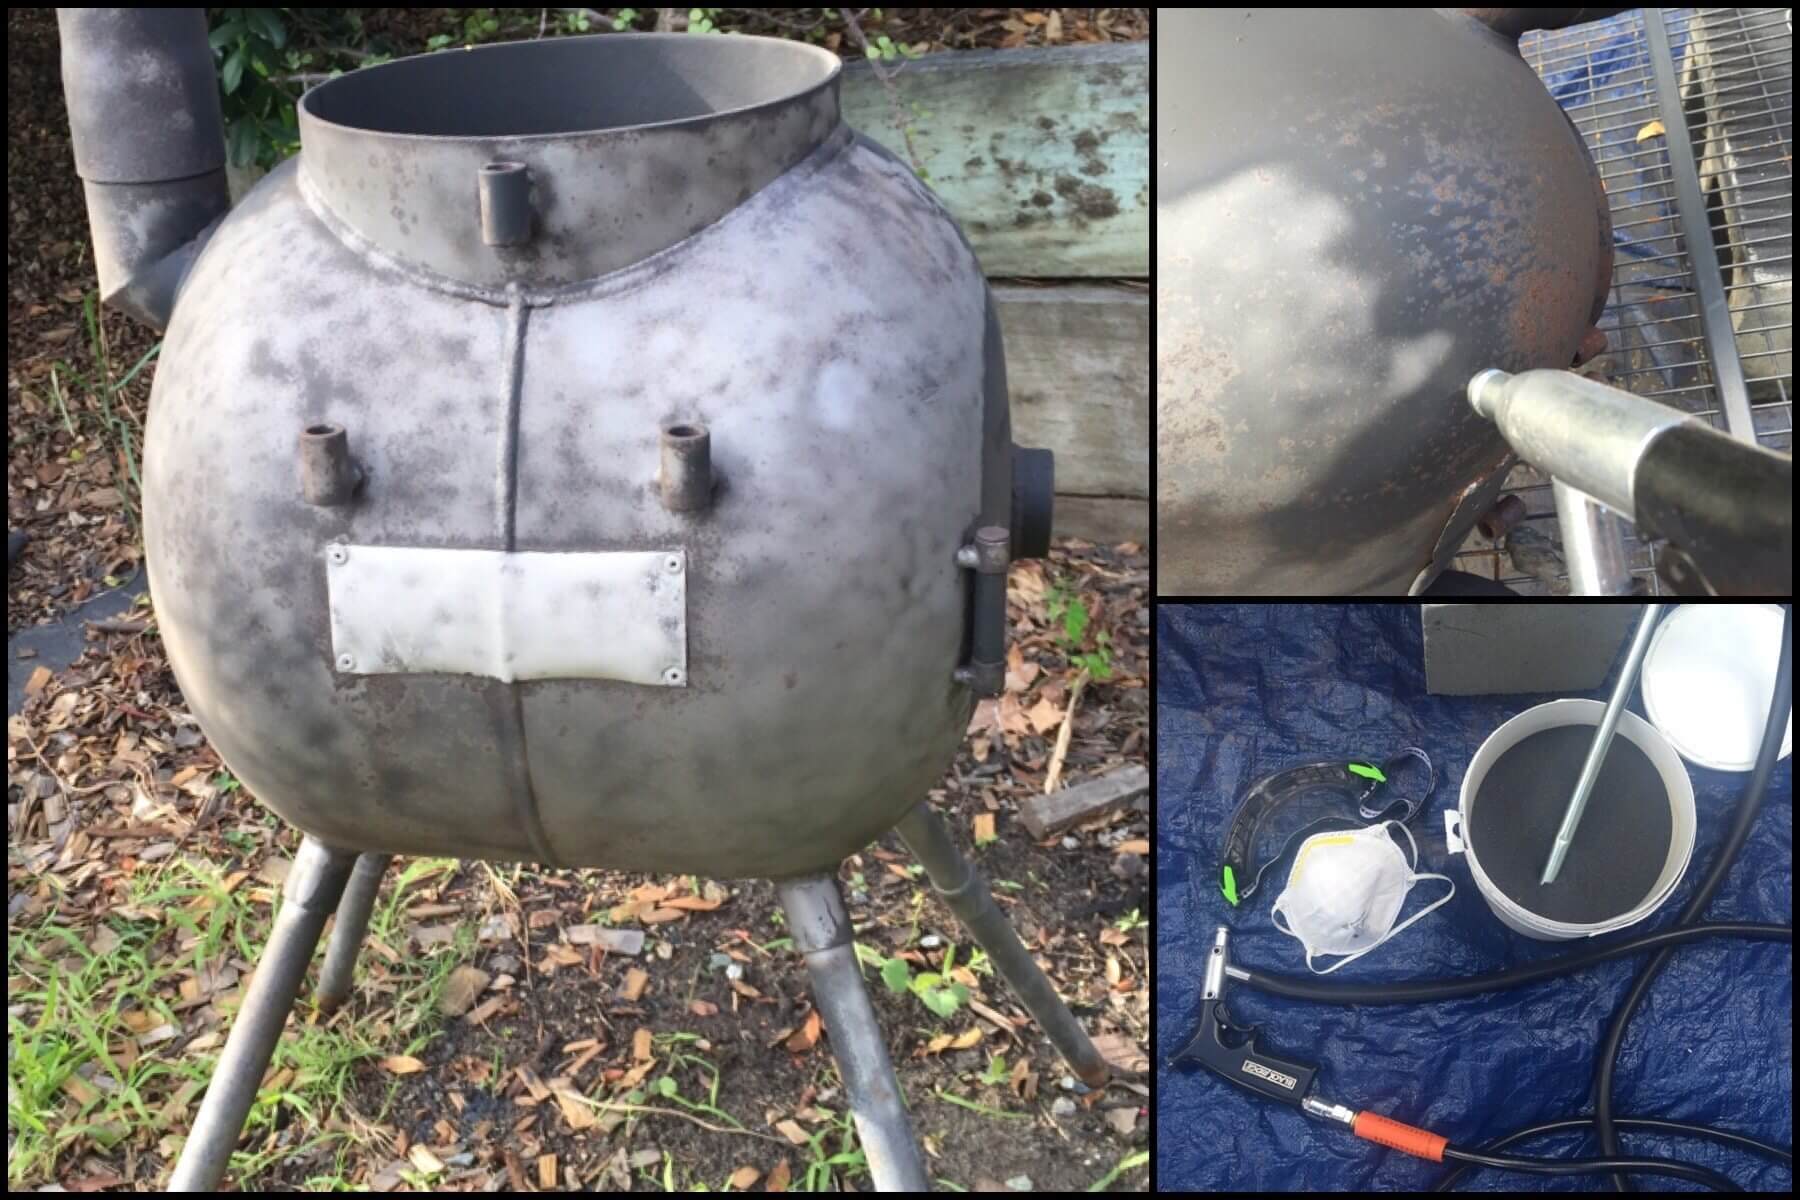
The finished product
Well there you have it, slap on a coat of engine paint and it’s ready to cook up a camp oven feast on! This 44-gallon drum project is a perfect addition to your backyard for camp oven cooking.
If you missed part 1, click here!


Check out our Facebook page for more photos, tips and recipes

G’day Mick,
I have been waiting for part #2! And the whole project looks great. Can’t wait to build one as soon as I’m able. I remember you, (from yourphoto in the article) at the Ecka Showgrounds ,demonstrating Camp Oven cooking, watched 3 of you helping members of your audience make damper. That’s after I had bought a 4.5 quart camp oven that I had burnt. Couldn’t get it right until after I had spoken with one of you and was encouraged too keep at it. The wife and I have on the road for four years now. Do a lot of cooking in the camp oven,thanks to the C.I.B’s tips and enthusiasm.
Regards
Malcolm and Sandy Cunningham
Very neat. I’ve got a few 44 gallon drums too. Cheers for the guide!