How to Make a Fire Pit Made from a 44-Gallon Drum! | Part 1
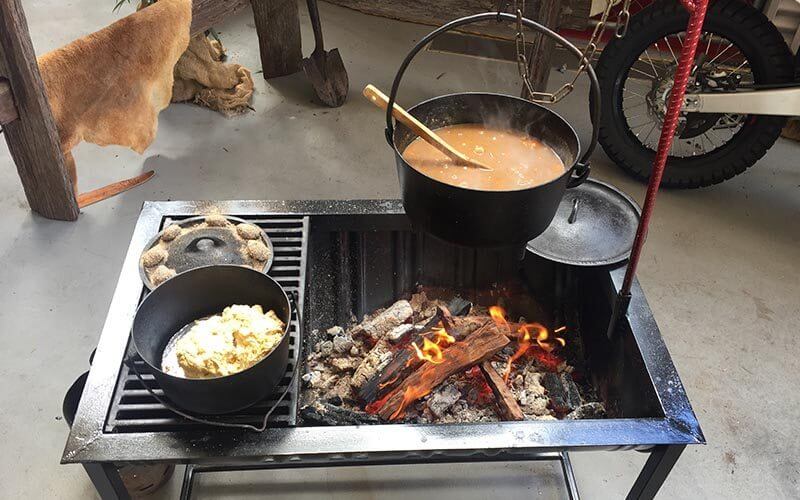
Over the past few years, we have come to realise that people only cook in their camp oven when they are out camping. Our goal is to inspire others to cook in the camp oven more often at home; a 44-gallon drum makes a great fire pit for camp oven cooking in your backyard.
Today I show you the steps I did to cut the drum in half. The drum I used was a food grade barrel that I purchased for $20 from a microbrewery.
Safety First:
Cast Iron Boys do not condone or encourage cutting or using a drum that has contained flammable liquids, and you do so at your own risk. We recommend only using a food grade barrel as cutting a drum that has contained flammable or toxic substances is dangerous and has caused severe injuries and fatalities.
It is crucial to wear appropriate safety gear and to be competent working with power tools; this instructional assumes you some experience working with power tools, welding and painting and is only outlining the steps involved in how to make a fire pit from a 44-gallon drum.
Equipment I used
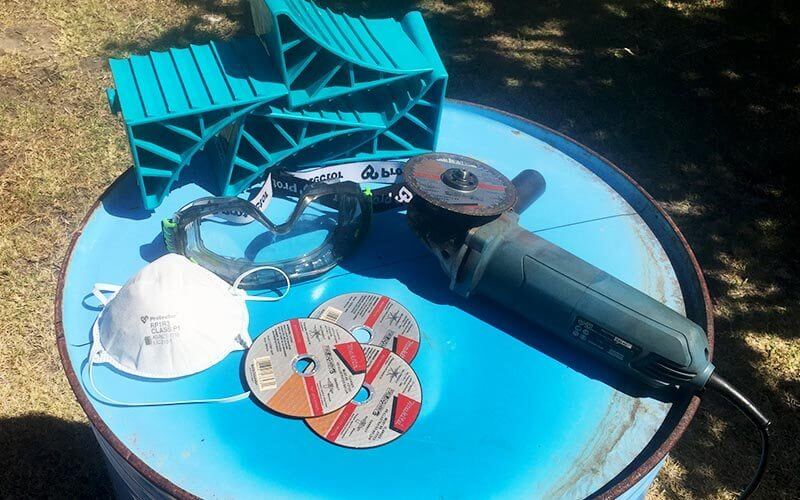
- Safety equipment
- Angle grinder, cutting discs and flap disc
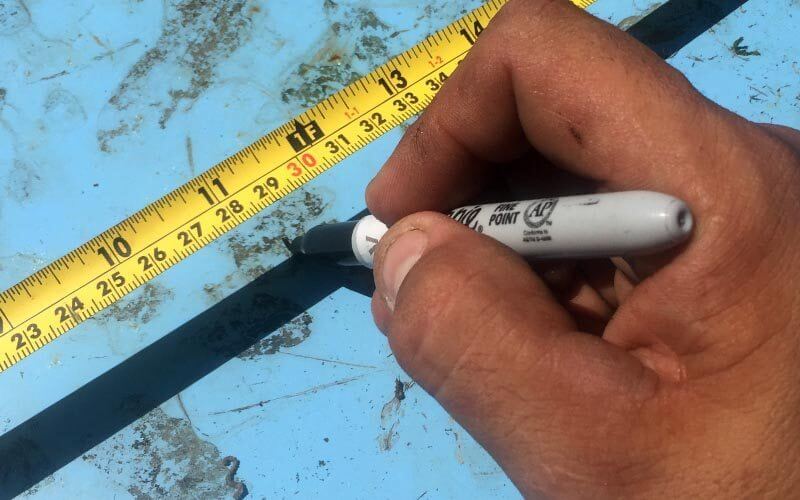
- Measuring tape, pen
- Arc welder or Mig welder
- Wheel Chocks
- Black marker
Steel supplies I used
- Angle iron
- Square tube
- 44-gallon drum
Part 1 – Cutting the drum in half.
To make sure you cut the drum in half, it is important you take your time to measure correctly. Remember, measure twice, cut once – not the other way around!
Marking the drum.
Step One.
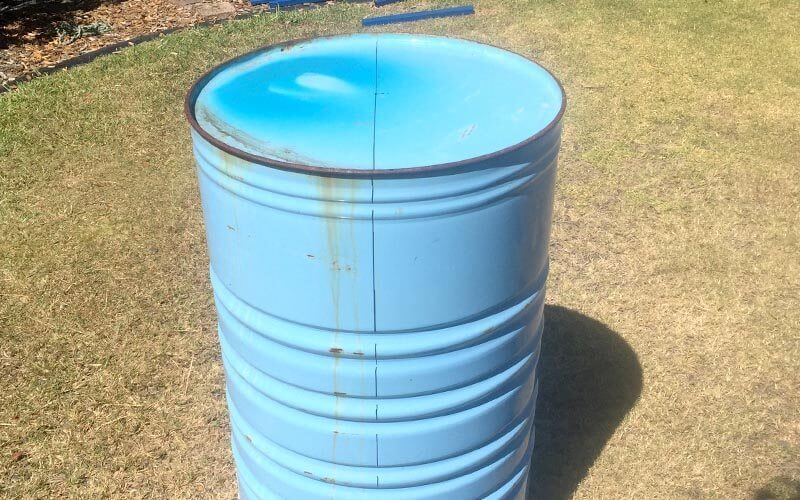
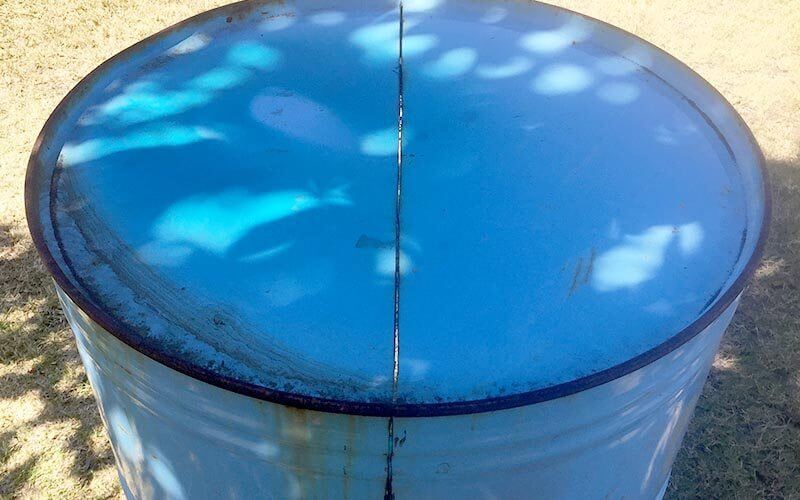
The drum has a seam, so use this for your first line.
Step Two.
Stand the drum upright, and starting from the seam, measure straight across, find the centre and mark a dot.
Now measure across the drum and mark the centre, this will give you the centre, using a straight edge mark a line straight across.
Step Three.
Using a straight edge, mark a line straight across with a black marker. Now flip the drum and do the same.
Using a straight edge draw the line down the drum.
Cutting the drum.
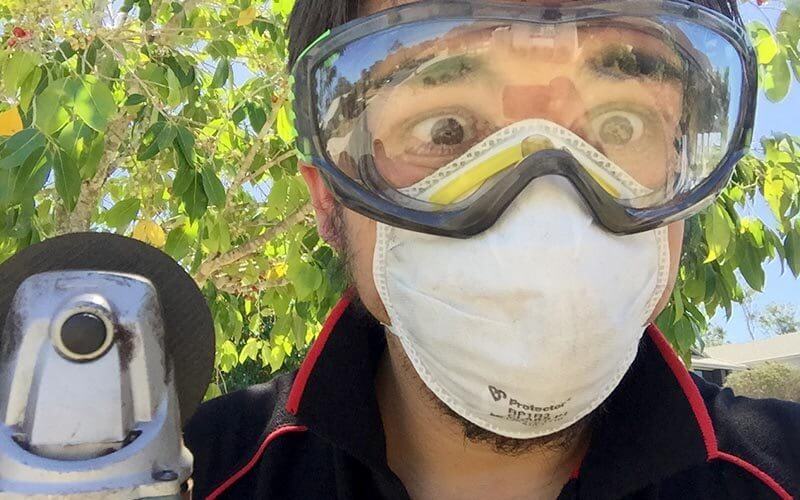
Firstly before I start, I put on some safety gear!
Step One.
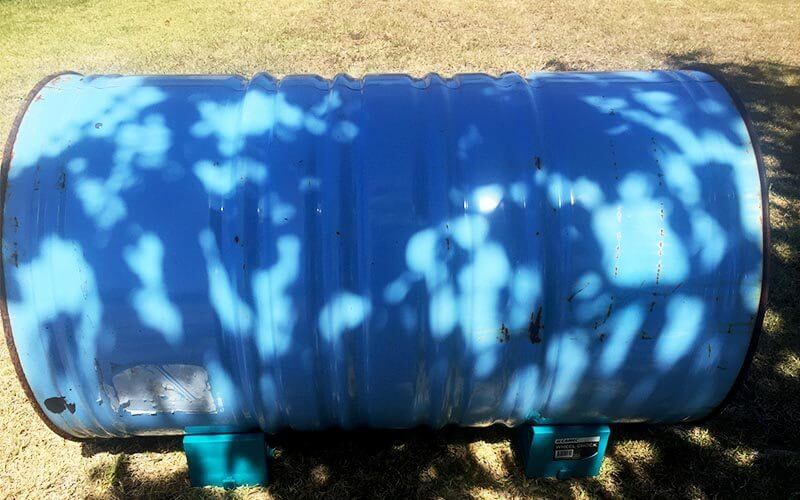
Lay the drum on the ground; I use some wheel chocks on both sides to keep the drum sturdy while cutting.
Step Two.
Now cut along all of the lines – I cut the sides first, then the top and bottom.
Tip! Cut the corners last – doing this helps hold the drum together while cutting.
Step Three.
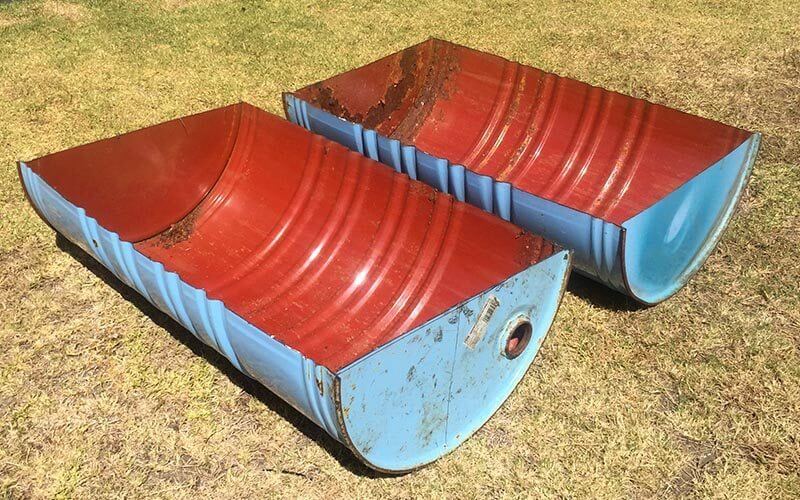
You should now have two halves of your drum.
Part 2 | Making the fire drum.
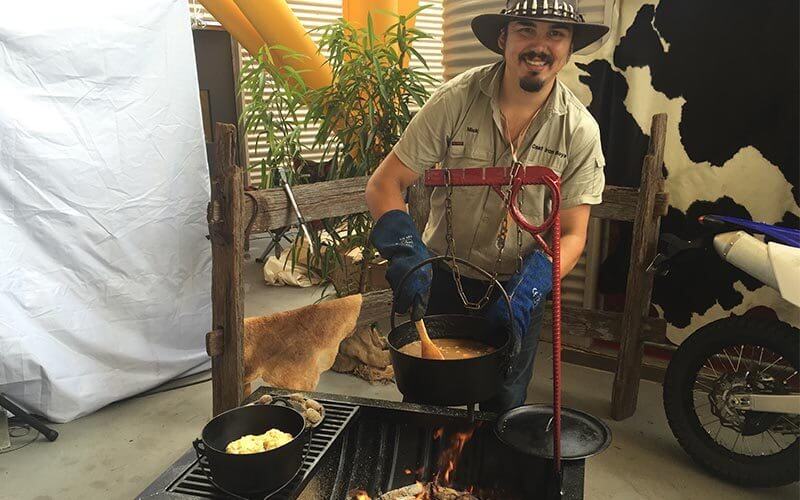
Here’s a sneak peek of what the finished fire pit looks like ? Part 2 is next!
Click here to read part 2


Fantastic initiative. Love outdoor eating any day.
Hi Kym, glad you liked it, here is a link to part 2 –
How come Part 2 won’t load ??
I’ve tried this link and it loads. https://www.thecampovencook.com.au/make-a-fire-pit-44-gallon-drum-part-2/
Please let me know if you have any troubles. Cheers