How do you clean a rusty Ozpig?
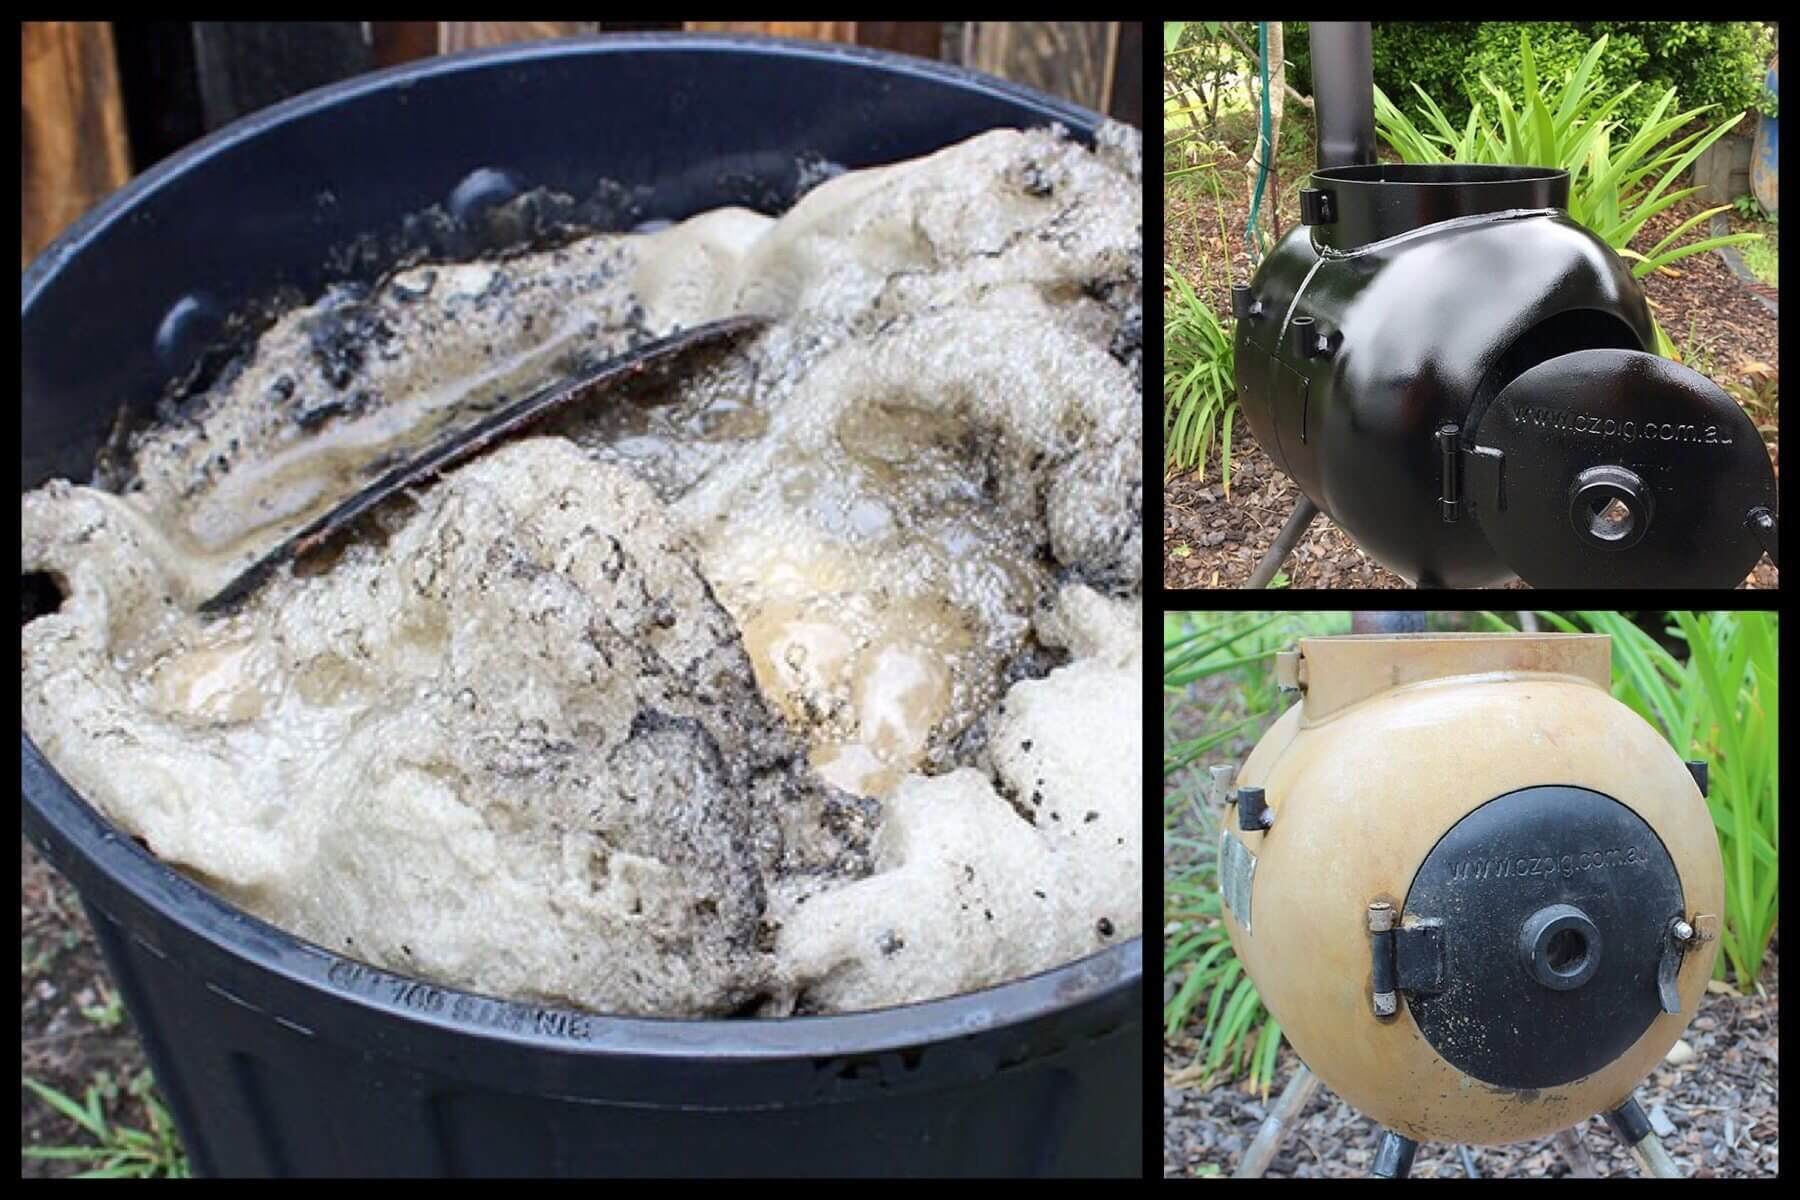
Being a member of a few Facebook groups, pages and websites, I often see people asking how to clean a rusty Ozpig. Just like cooking a chicken, there are so many ways you can do it. Below we cover three main ways using a grinder, sandblaster and molasses.
Three ways to clean a rusty Ozpig:
- Cleaning and repainting a Rusty Ozpig using a sandblaster.
- Cleaning and repainting a rusty Ozpig using hand tools.
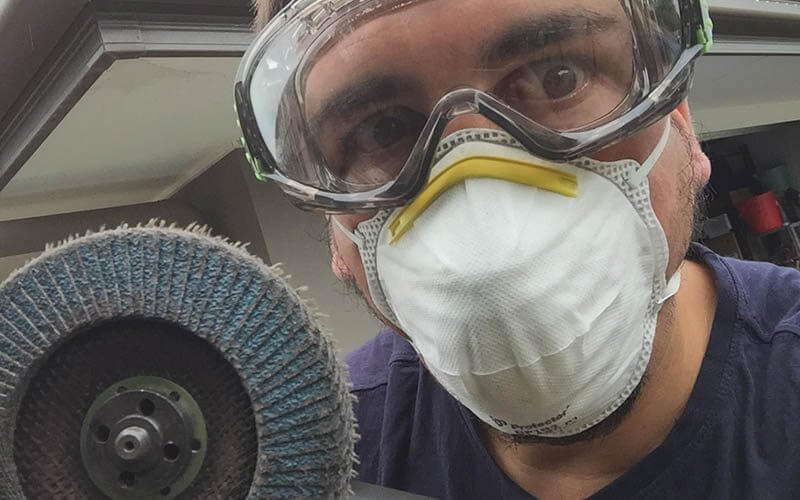
Safety: it is crucial to wear appropriate safety gear and to be competent working with power tools. This instructional assumes you have some experience working with power tools, painting with a spray can and is only outlining the steps involved in cleaning and repainting a rusty Ozpig using hand tools.
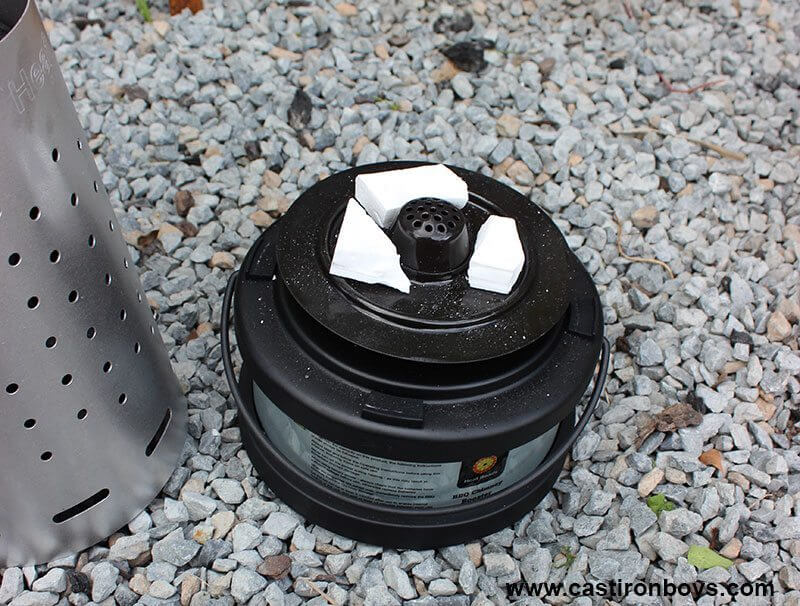
Warning: Never paint the cooking plates, follow this guide https://www.thecampovencook.com.au/all-things-ozpig/clean-rusty-ozpig-cooking-plates/

Cleaning and repainting a rusty Ozpig using a sandblaster
Note: This guide is a basic overview of the steps to restore your Ozpig, for a neater finish we recommend that you break the pig down and clean and paint it in pieces, however, today I have left ours in one piece as it lives in our backyard.
Step 1: Tools you need
You will require access to an air compressor, sandblaster, grit and safety protection.
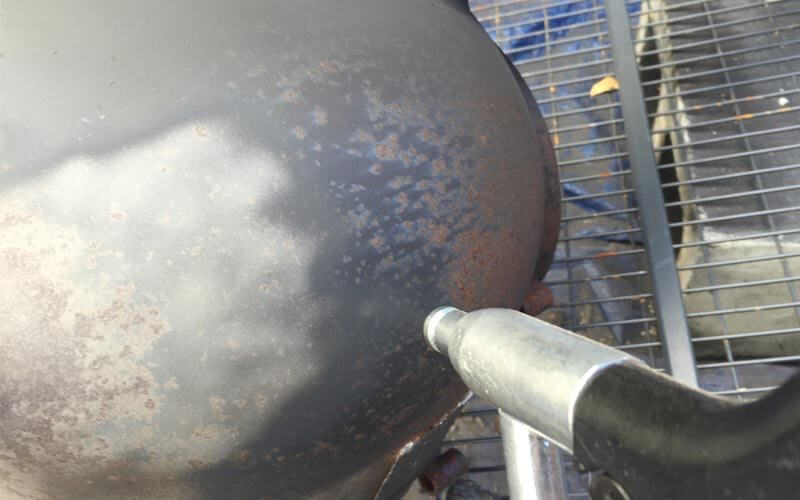
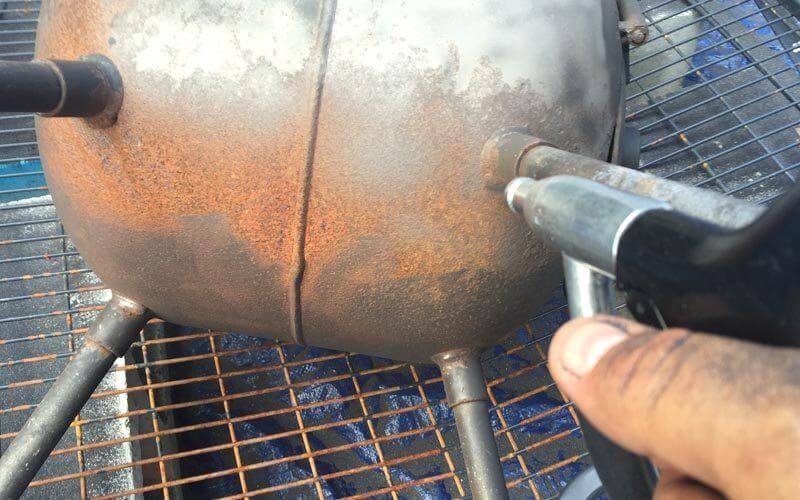
Step 2: Remove the rust
Using the sandblaster remove all of the rust.
NOTE: the results of doing this at home will produce ok results. The sandblasting method is also a great way to get into all of the right areas. Make sure you are wearing all the appropriate safety gear as it is quite a messy process.
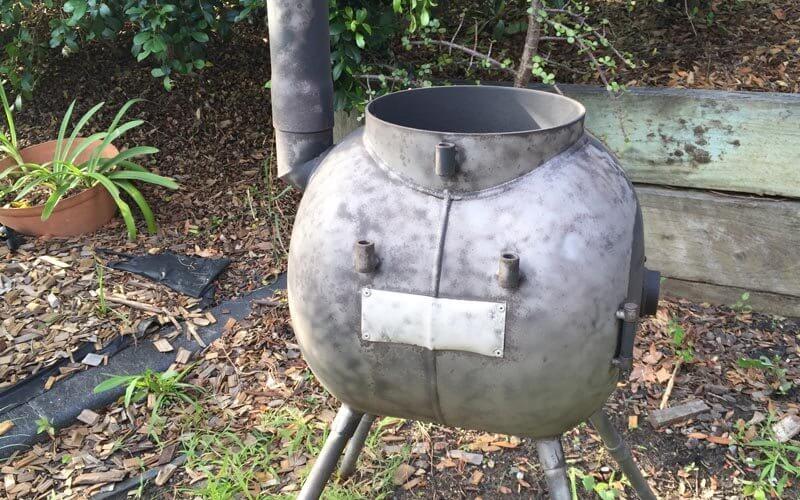
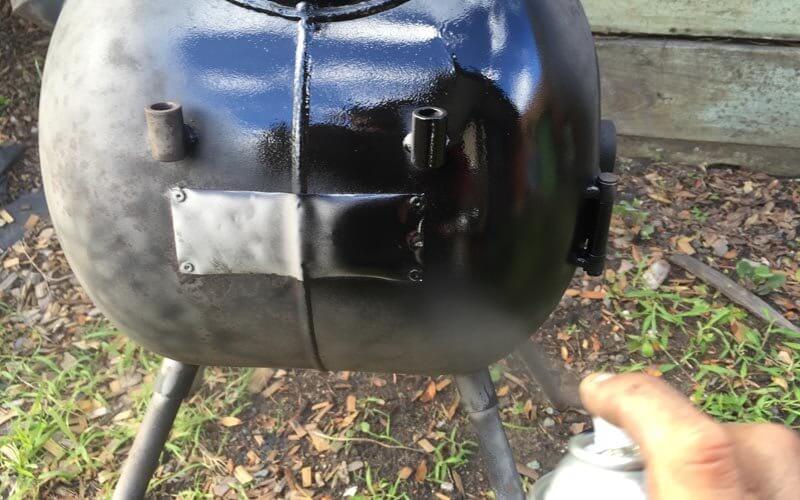
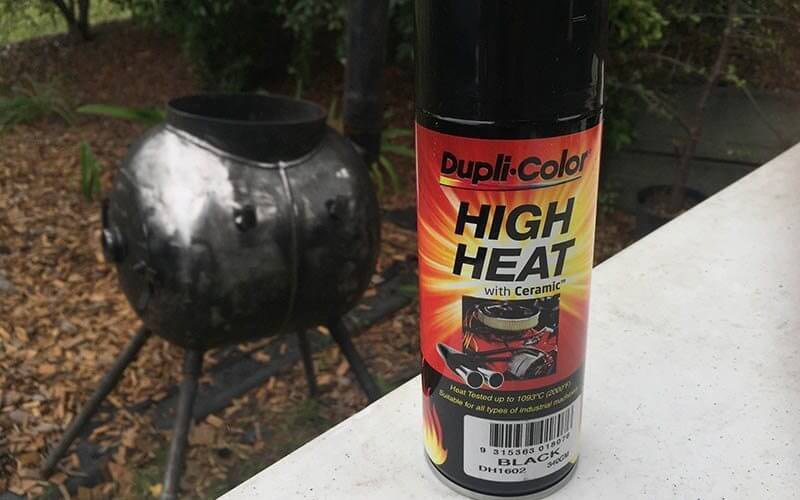
Step 3: Ready to paint
Now that you have cleaned and prepared your Ozpig back to bare metal, and purchased your can of High Heat Dupli-Color Paint available from Super Cheap Auto, it’s time to paint!
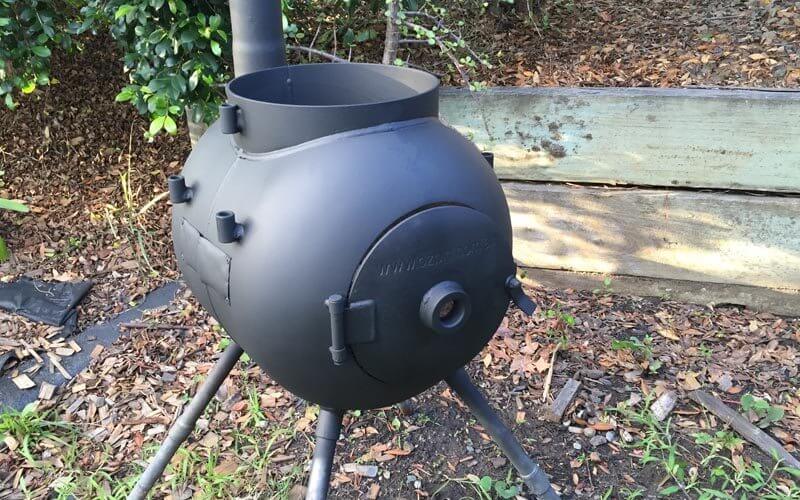
Step 4: All finished
Now she’s all painted and looking terrific I might add! This concludes our article on cleaning and repainting a rusty Ozpig using a sandblaster.
Warning: Never paint the cooking plates, follow this guide https://www.thecampovencook.com.au/all-things-ozpig/clean-rusty-ozpig-cooking-plates/